Get the Most Out of Your Soil: 6 Soil-Testing Tips
Posted:
March 29, 2023
Categories:
Farming
If you plan to plant in the spring, soil testing is an important step to ensure your plants have the right conditions to grow and thrive. Here are some tips for soil testing:
- Choose the right time: The best time to test your soil is in the fall or early spring before planting. Giving you time to adjust the soil pH and nutrient levels before planting.
- Collect a representative soil sample: Collect soil samples from different areas of your garden or field and mix them to get a representative sample. Use a soil probe or spade to collect samples at a depth of 6-8 inches.
- Use a reputable soil testing lab: Choose a reputable soil testing lab that uses reliable testing methods. You can find a list of accredited soil testing labs through your local cooperative extension service.
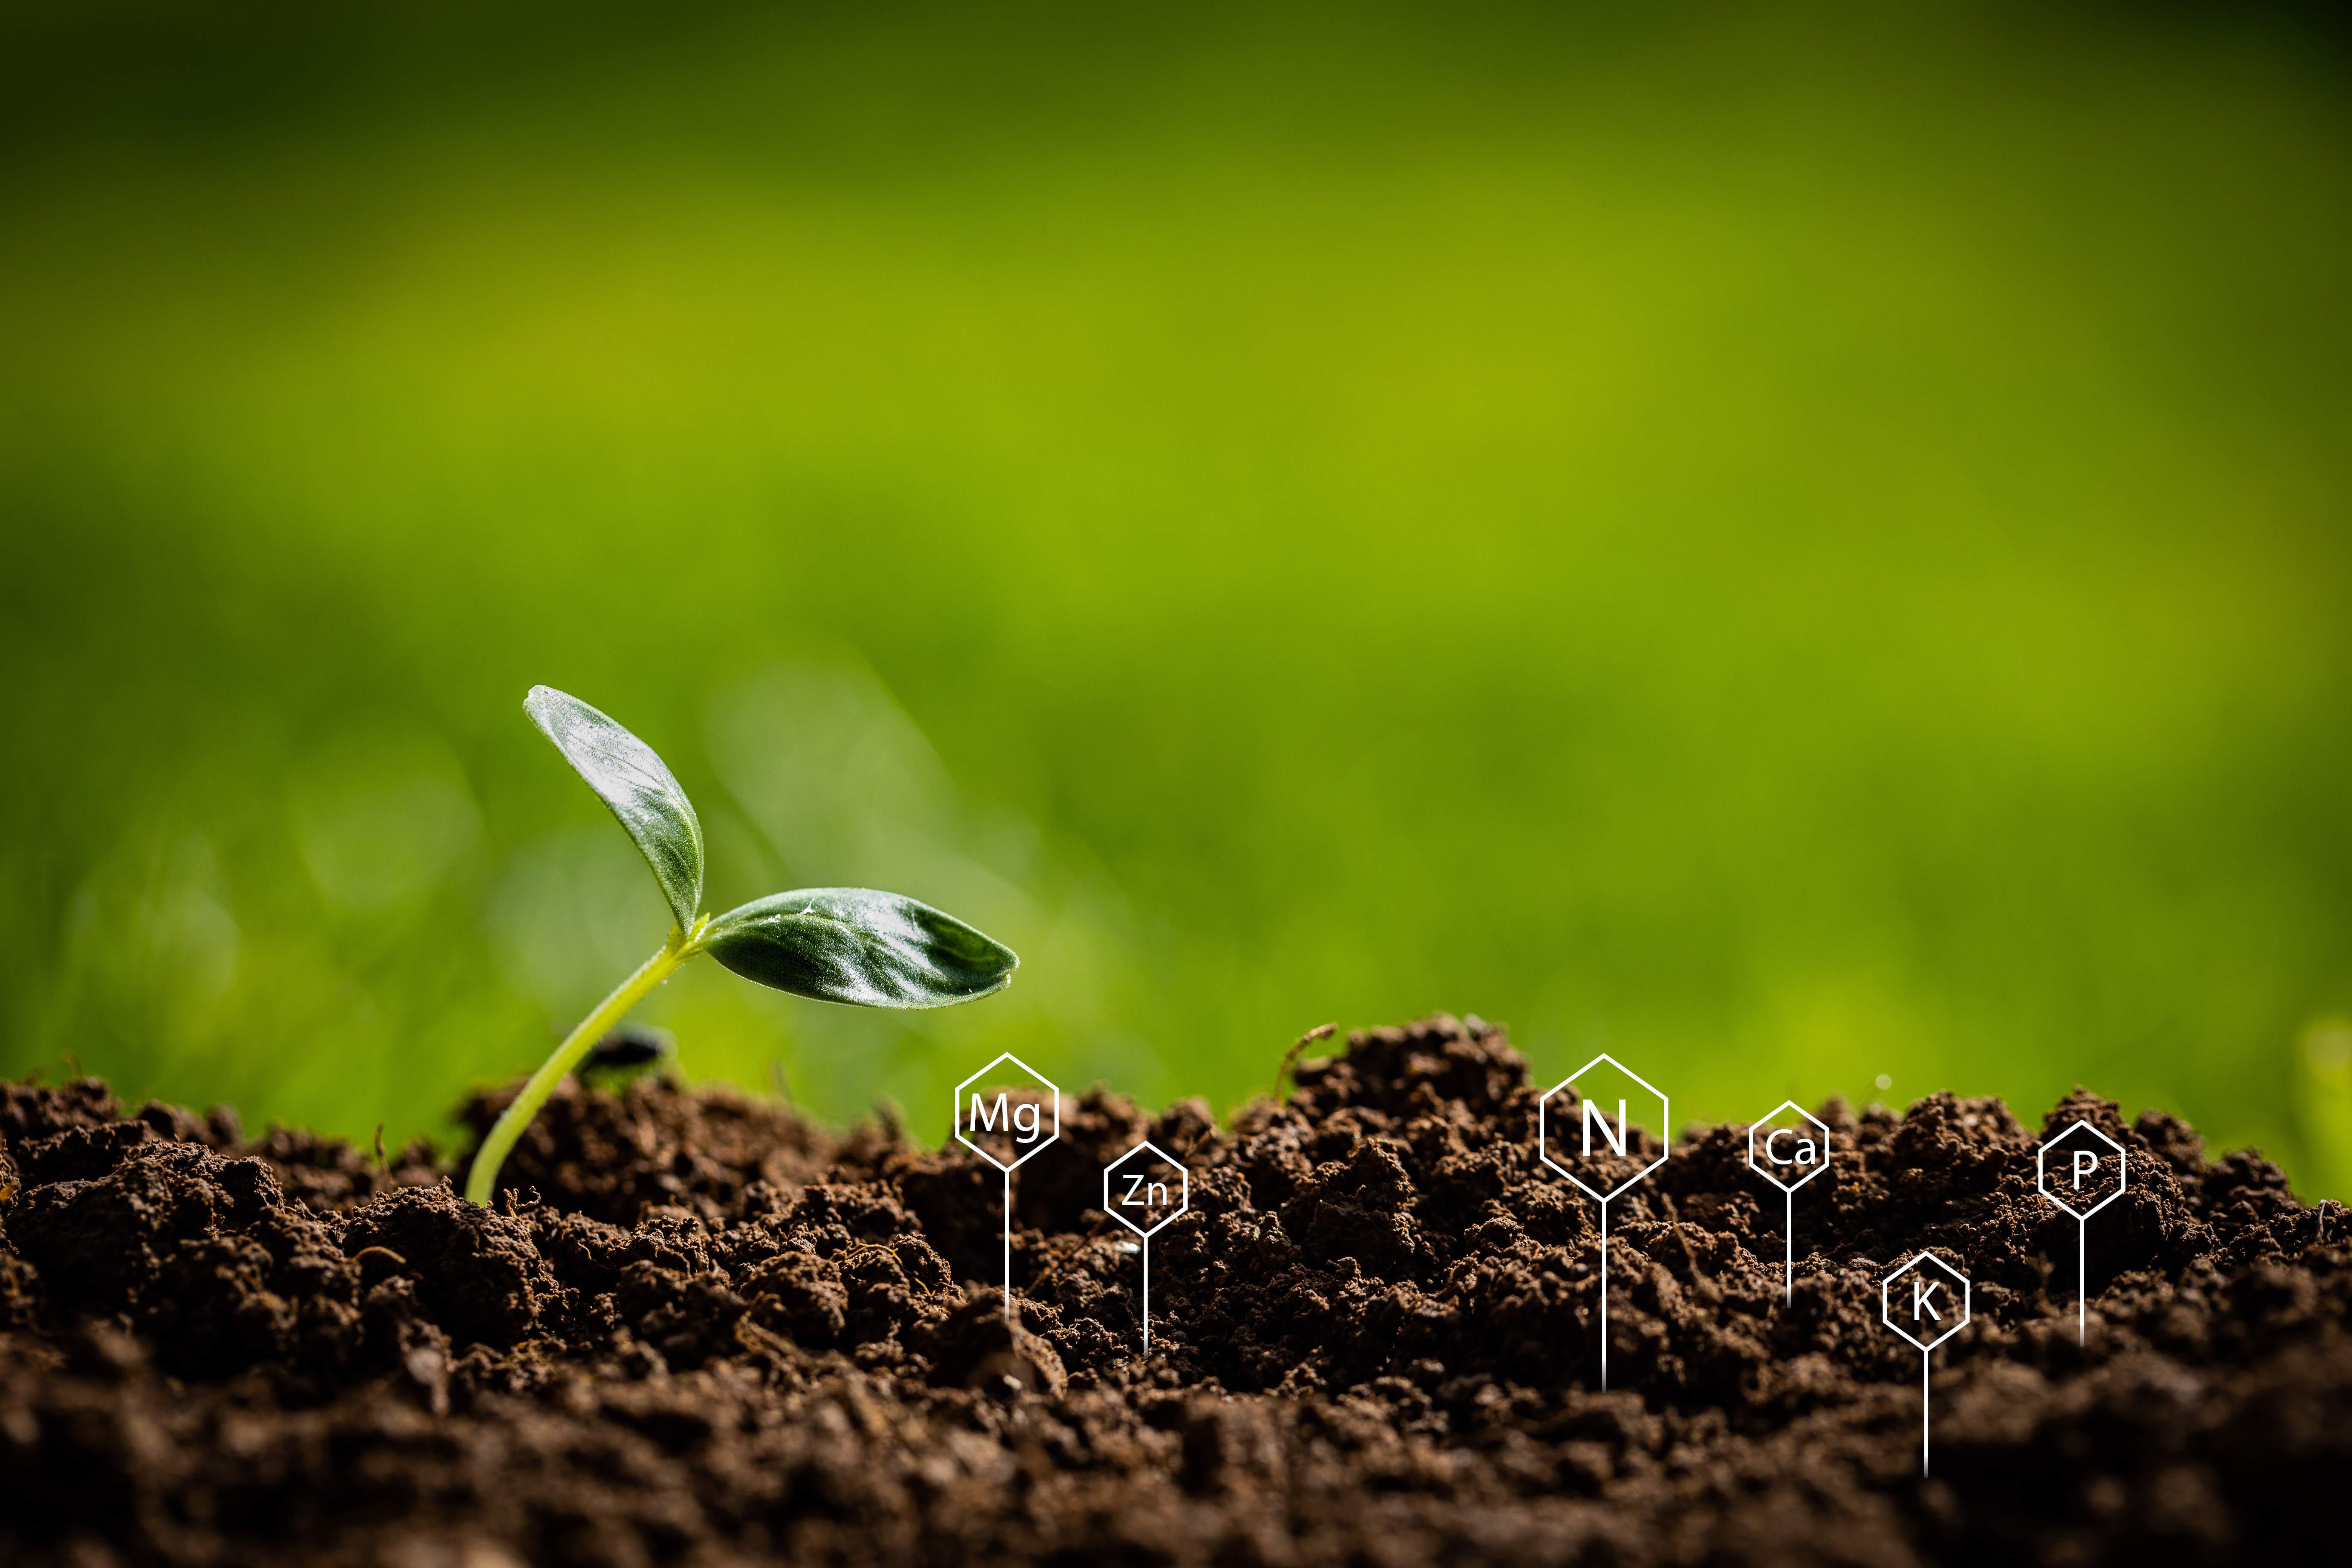
- Test for pH and nutrient levels: Soil testing should include a pH test and tests for key nutrients like nitrogen, phosphorus, and potassium. Based on the results, you can adjust the soil pH and add fertilizers to provide the nutrients your plants need.
- Follow the lab's recommendations: The soil testing lab will provide recommendations based on your test results. Follow these recommendations carefully to ensure the best-growing conditions for your plants.
- Retest periodically: Soil conditions can change over time, so it's a good idea to periodically retest your soil to ensure your plants have the necessary nutrients. Retesting every 3-4 years is a good rule of thumb.
Following these soil testing tips can help ensure that your soil has the right conditions for healthy plant growth and a successful spring planting season.